How It Works
The Allocation Innovation Tool was created by Harvard University economists and computer scientists as an automated way to deal with allocation challenges such as assigning students to classes based on students' preferences; assigning work to committees based on committee members' preferences; matching teaching fellows to courses; and more.
This document gives an overview of how to use the tool. We know it is long, but hang in there and read the whole thing! You'll thank us later.
For the first 2 steps in performing an allocation, you'll need to:
- Be able to identify what type of allocation challenge you have (your "task").
- Provide data on the individuals in your allocation challenge (your "subject data").
For step 1, we need to know what kind of allocation you would like to do. Different kinds of allocations may require different data and use different algorithms.
We currently support the following kinds of tasks:
- Assign students to a class using a class lottery.
Choose this if you have one class with a size limit and the number of students who want to take the class exceeds that size limit. The allocation is done as a random lottery, and you are able to prioritize and/or exclude students if needed. For example, if 150 students are interested in the 100-person Econ 1001 class, use this lottery to choose 100 of the 150 people. If you wish to prioritize or exclude certain class years, concentrations, prerequisites, and so on, you'll be able to. - Assign students to classes using student preferences.
Choose this if you have a set of class (or section) options that students have ranked, and they need to be assigned to one of the options. For example, you would use this if you have 200 students who need to be assigned to one of 20 classes (each capped at 10). - Assign work to committee members.
Choose this if you want to assign work items to members of a group, based on members' preferences for those work items. Individuals can be assigned multiple items, and work items can have multiple individuals assigned to them. For example: a committee of 20 people needs to read 50 essays, and each essay needs to be read by 2 people. You can choose how many work items each committee members gets, or you can ask the tool to keep it roughly similar across all committee members.
For step 2, you need to upload a file containing data. The file can be either an Excel spreadsheet (i.e., a .xslx file) or a comma-separated values (CSV) file, which you can create in your spreadsheet software.
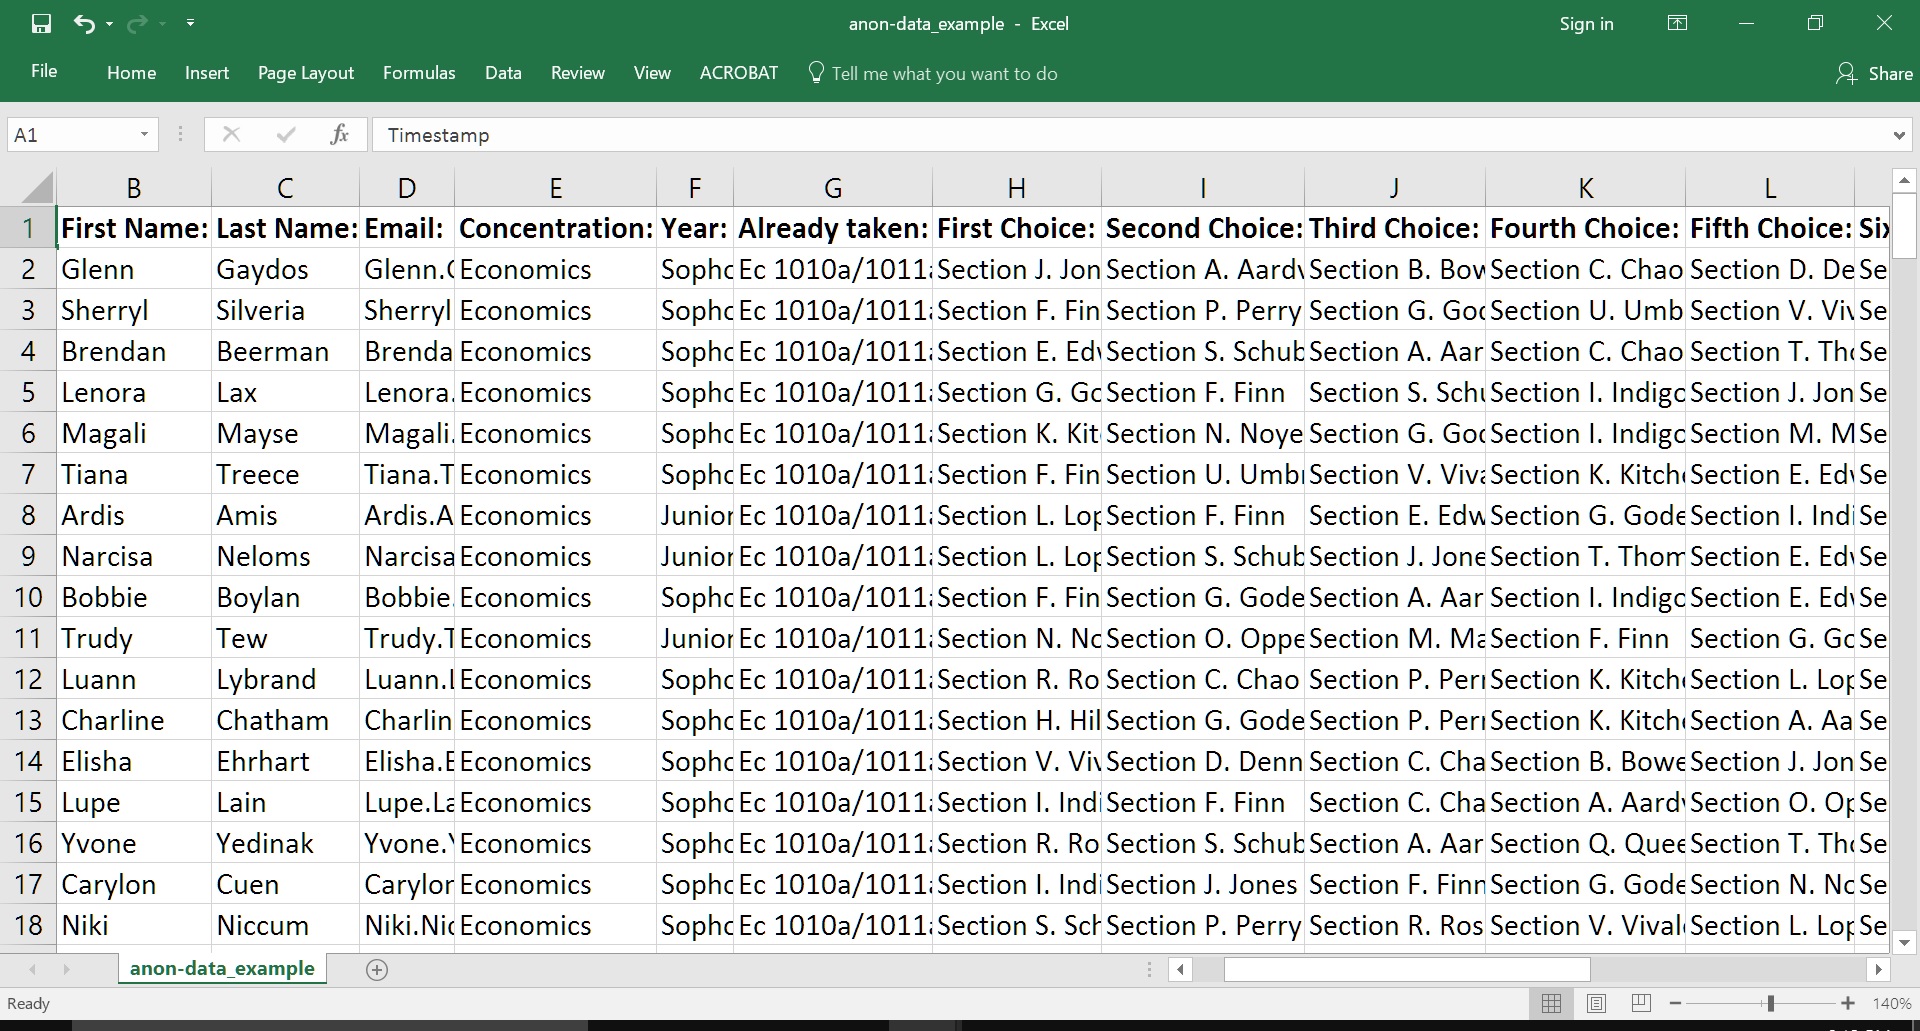
The first row of your spreadsheet should be all of the column titles. Each of the other rows should contain information on individuals, such as their name, email, year, concentration, etc. Most importantly: Preferences should be listed in columns. For example, there should be a "first choice" column, where each individual has listed their most preferred item of the options.
Here is an example of anonymized student data for a course where students need to rank their class ("Section") preferences from 22 options. (This spreadsheet was generated using a Google form. Check out this example form or use this template to help make your own.)
Once you specify your task type (step 1) and upload your data (step 2), you'll be able to:
- Review your data to make sure it correctly uploaded. In this step, you can also optionally specify "Allocation Attributes" for data. This refers to attributes of individuals that might be used to prioritize or exclude individuals in the allocation.
- See summaries of your data.
Then the fun starts!
- Specify options for the allocation. For example, you can set maximum sizes for classes; you can exclude or prioritize certain individuals (for example, prioritizing senior students and/or certain concentrations).
- Voila! You can now view your allocation results, download a spreadsheet with the allocation, and more.
Along the way, we try to provide guidance in each step. Please also click the "More info" help buttons whenever you're unsure of how to proceed with a particular step.
Happy Allocating!